Installation and Setup: A Step-by-Step Guide for New Users
Welcome to Radar Catcher, your go-to guide for choosing the right radar detector for your needs. In this article, we'll walk you through the installation and setup process for your new radar detector.
Key Takeaways
- Choose a suitable mounting location for your radar detector
- Connect the power cord to the cigarette lighter or hardwire it to your car's electrical system
- Adjust the radar detector's settings to your preference
- Test your radar detector to ensure it's working correctly
Choosing the Right Mounting Location
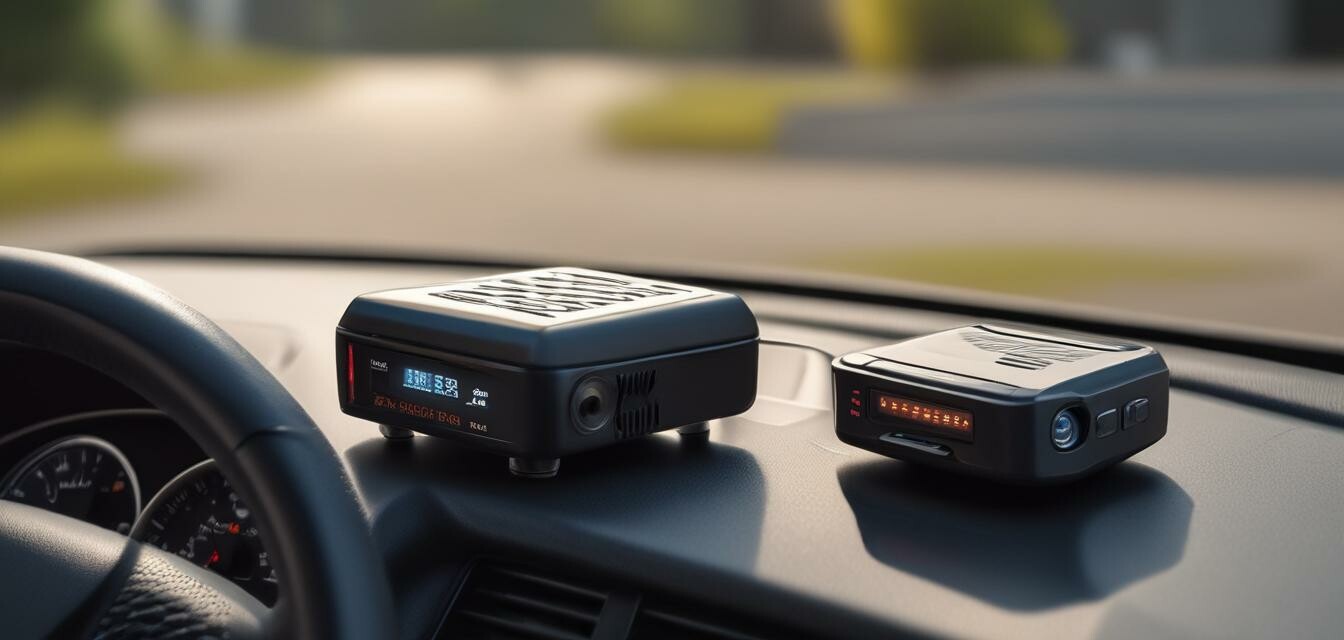
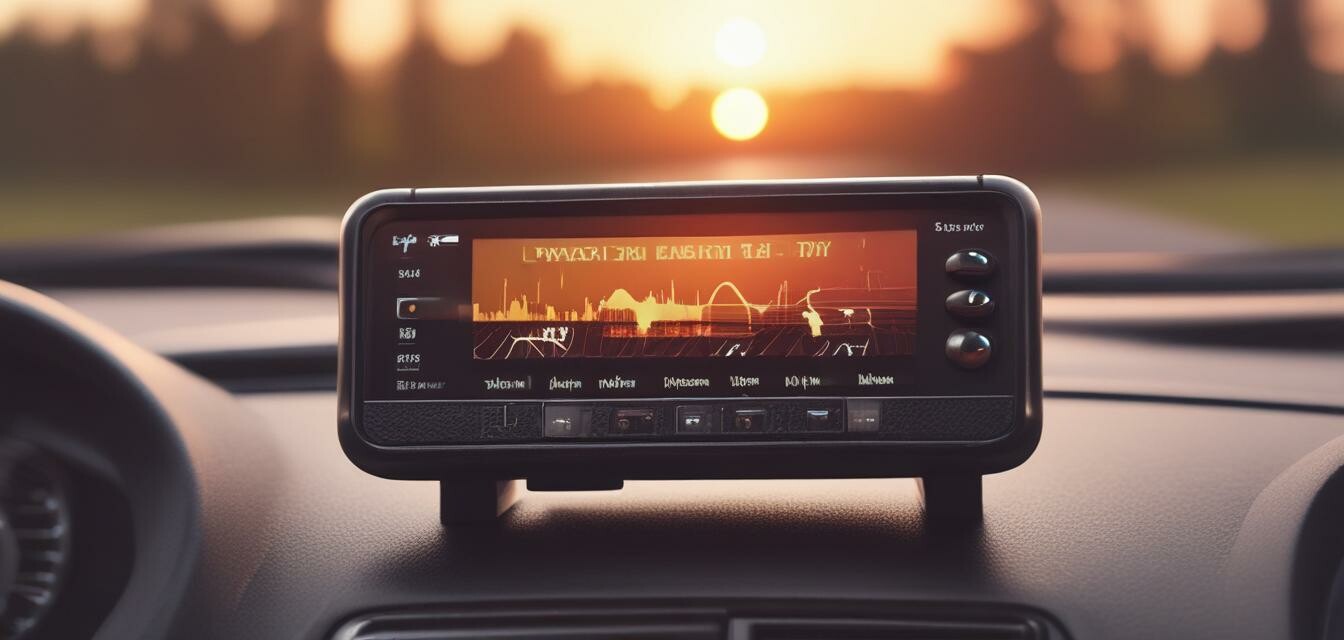
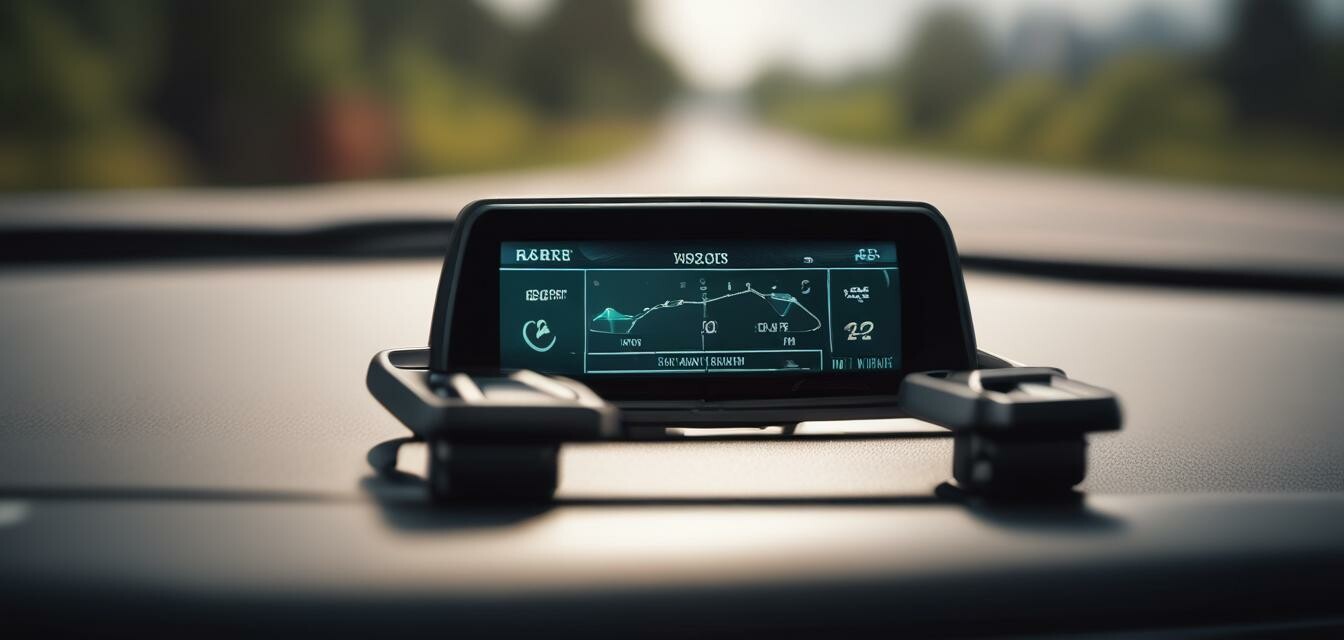
When it comes to mounting your radar detector, you have a few options to consider. You can mount it on the windshield, dashboard, or even on the rearview mirror. The key is to choose a location that provides the best visibility and minimal obstruction.
| Mounting Location | Pros | Cons |
|---|---|---|
| Windshield Mount | Easy to install, provides a clear view of the road ahead | May obstruct your view, especially if you have a smaller windshield |
| Dash Mount | Provides a more discreet installation, doesn't obstruct your view | May not be as stable as a windshield mount, requires more adjustment |
| Rearview Mirror Mount | Provides a clear view of the road behind you, easy to install | May obstruct your rearview, not suitable for all cars |
Connecting the Power Cord
Once you've chosen your mounting location, it's time to connect the power cord to your radar detector. You have two options: connecting it to the cigarette lighter or hardwiring it to your car's electrical system.
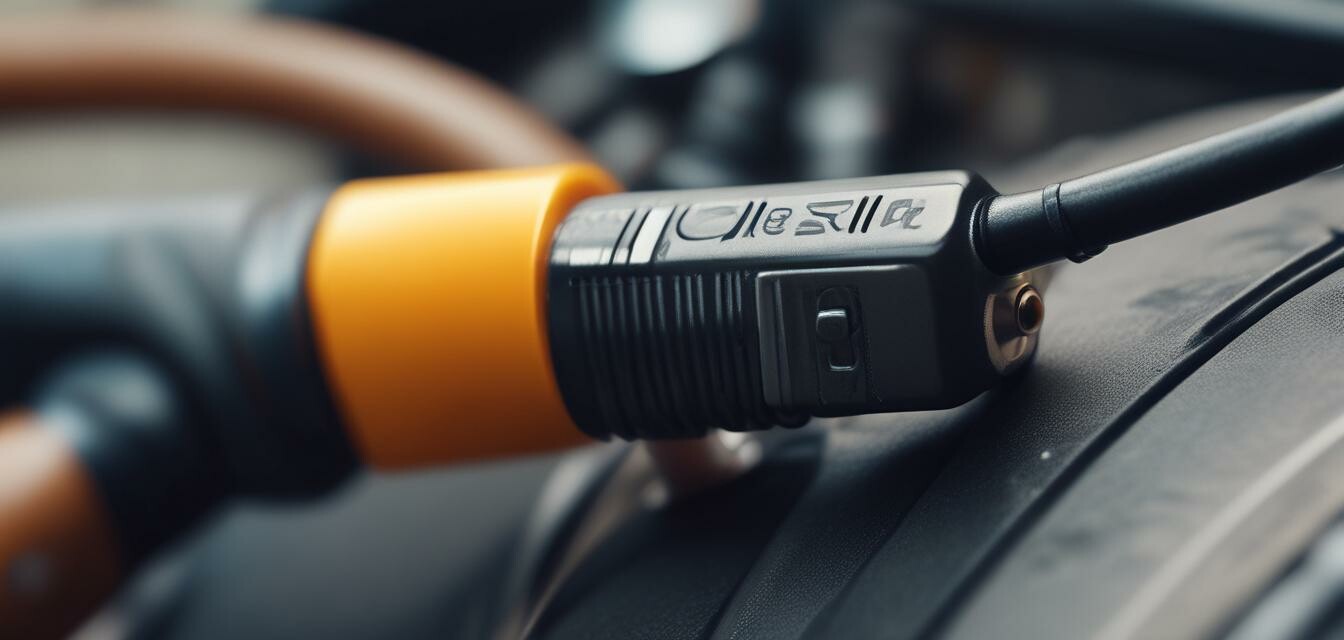
Connecting to the cigarette lighter is the easiest option, but it may not provide a secure connection. Hardwiring it to your car's electrical system, on the other hand, provides a more secure connection, but requires more effort and technical knowledge.
Adjusting the Radar Detector's Settings
Now that your radar detector is installed and connected, it's time to adjust the settings to your preference. This includes setting the sensitivity, adjusting the volume, and customizing the display.
| Setting | Description |
|---|---|
| Sensitivity | Adjust the sensitivity to reduce false alerts and improve detection accuracy |
| Volume | Adjust the volume to a comfortable level, or set it to mute if you prefer |
| Display | Customize the display to show the information you need, such as speed, direction, and alert type |
Testing Your Radar Detector
The final step is to test your radar detector to ensure it's working correctly. This includes testing the detection range, accuracy, and alert system.
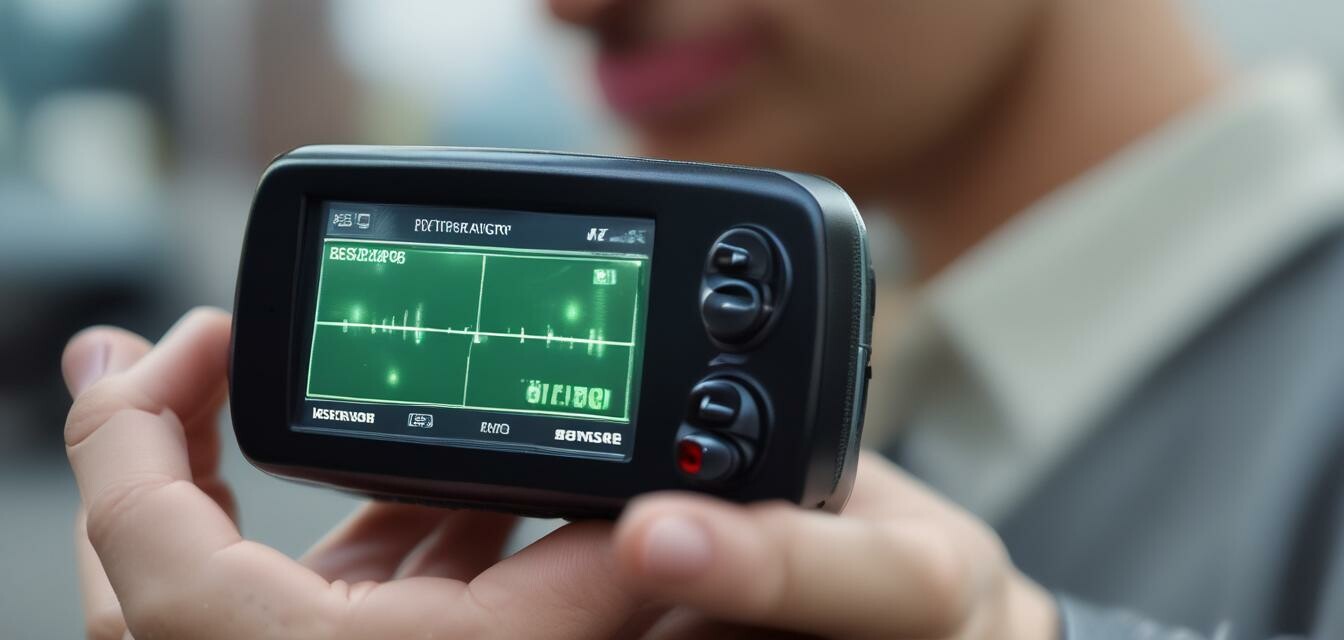
Test your radar detector in different scenarios, such as on the highway, in urban areas, and in rural areas. This will give you a better understanding of its capabilities and limitations.
Conclusion
Installing and setting up your radar detector may seem daunting, but with these steps, you'll be up and running in no time. Remember to choose the right mounting location, connect the power cord correctly, adjust the settings to your preference, and test your radar detector to ensure it's working correctly.
For more information on radar detectors and how to choose the right one for your needs, check out our Entry-Level Radar Detectors guide.
Pros of Installing a Radar Detector
- Provides early warnings for speed traps and traffic cameras
- Helps you maintain a safe speed and avoid tickets
- Improves your overall driving experience
Cons of Installing a Radar Detector
- May provide false alerts and require frequent adjustments
- Can be distracting if not installed correctly
- May not detect all types of speed traps and traffic cameras
By following these steps and considering the pros and cons, you'll be well on your way to enjoying the benefits of owning a radar detector.
Tips for New Users
- Read the user manual carefully before installation
- Choose a radar detector that fits your budget and needs
- Consider consulting with a professional if you're not comfortable with the installation process
For more tips and guides on radar detectors, check out our Advanced Radar Detectors guide.

